To use a dial indicator, set the indicator on a flat surface and zero it out. Then position the indicator against the object you want to measure and move the object to get a reading.
Dial indicators are commonly used in precision mechanical work to measure the variation in size or position of a workpiece. If you’re looking to measure the variation in size or position of a workpiece, a dial indicator is an essential tool. It can be used in a wide range of applications, including woodworking, metalworking, automotive repair and more. Using a dial indicator requires precision and patience, but once mastered, it can greatly improve the accuracy of your work. In this article, we’ll cover the basics of using a dial indicator and share some tips to help you get the most out of this versatile tool.

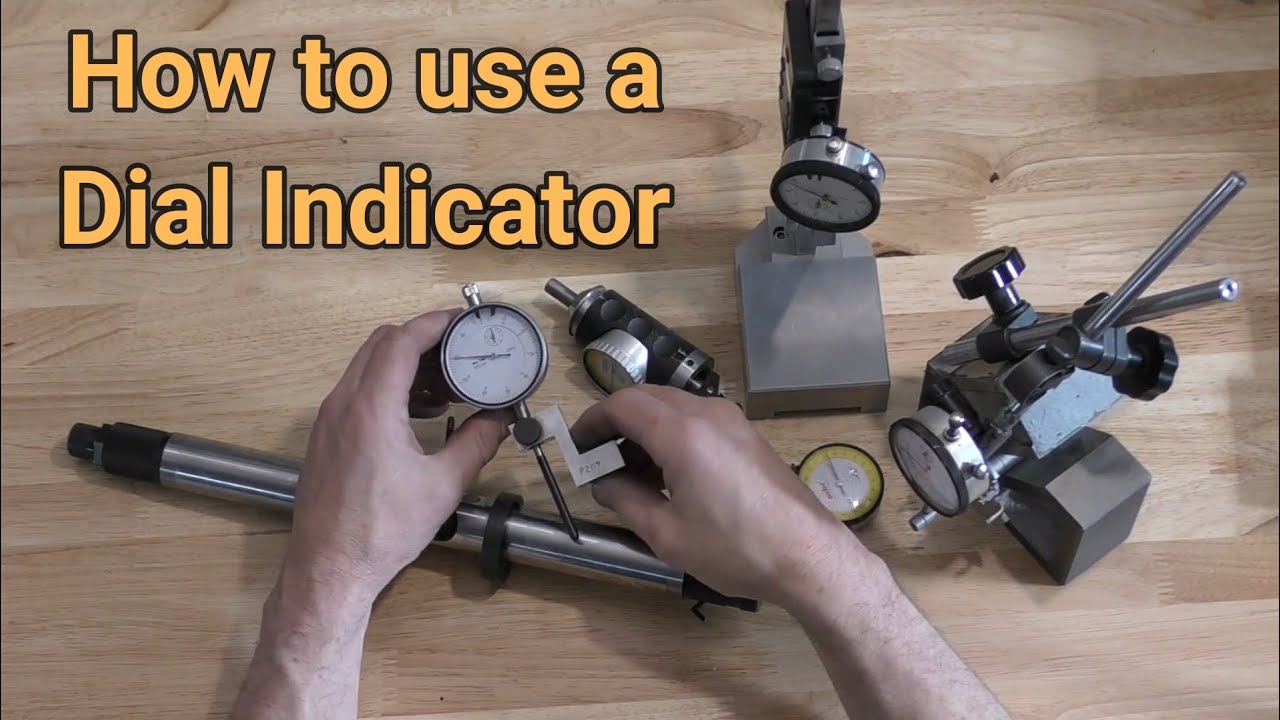
Credit: willrich.com
Understanding Dial Indicators
A dial indicator is a precision measuring tool used in different industries to measure the relative position of components. It has four main parts; the dial face, stem, contact point, and bezel. You must understand the different parts to properly use a dial indicator.
To read the dial indicator, you must first set the device to zero and put it in the correct position. Once in position, you can take measurements as needed. There are different types of dial indicators, including the plunger type and the lever type.
The plunger type is used to measure the depth of a hole, while the lever type is used to measure the deviation of a surface. Understanding the different types of dial indicators and their specific uses will help you choose the right tool for your job.
Preparing To Use A Dial Indicator
To use a dial indicator accurately, start by selecting the right one for the job. Next, make sure it is mounted correctly before taking measurements. Different contact points are available for different applications, so selecting the correct one is also crucial.
Understanding how to properly use the indicator can greatly benefit the accuracy of measurements taken. Remember to keep these tips in mind when preparing to use a dial indicator.
Using a Dial Test Indicator
Steps For Using A Dial Indicator
Using a dial indicator may appear to be a labyrinthine process, but it is necessary to ensure that machine tool processes work efficiently. The initial procedure involves setting zero on the dial indicator; this can be achieved by placing the gauge on a surface with no gaps, pressing down to make certain that there is consistent pressure and avoiding deflection.
Measuring deviations from zero is also a crucial step that cannot be ignored. To take an accurate measurement, use a test indicator and a surface plate. By following these basic protocols, one can ensure that their measurements are precise.
Tips For Getting Accurate Measurements With A Dial Indicator
To ensure accurate measurements with a dial indicator, it’s important to check for any environmental factors. Avoid areas with vibration or other sources of interference that could affect readings. Use the proper technique for the task at hand, such as a flat surface or a reference point.
Take multiple measurements to ensure consistency, and avoid common mistakes like applying pressure unevenly or misaligning the indicator. By carefully following these tips, you can trust in the accuracy of your measurements and achieve precise results.
Frequently Asked Questions For How To Use A Dial Indicator
How Do Dial Indicators Work?
A dial indicator is a precision tool that measures angular deviations, vertical deviations, and lateral displacements. The dial gauge has a precision dial that measures the deviation directly in thousandths of an inch or tenths of a millimeter. It consists of a swiveling dial and a plunger, which moves either horizontally or vertically, depending on the measurement required.
What Is The Accuracy Of A Dial Indicator?
A dial indicator has different levels of accuracy. The accuracy of a dial indicator is the deviation of the plunger tip movement from the nominal value. A dial indicator should be chosen based on the required level of accuracy. Generally, the accuracy of a dial indicator ranges from 0.
0001 inches to 0. 001 inches.
How Do You Zero A Dial Indicator?
Zeroing a dial indicator is a simple process. First, place the dial gauge on the surface to measure and adjust the dial to zero. Then, push the plunger gently against the surface to be tested and observe the dial. If the dial did not show zero, then rotate the dial face until it shows zero.
The dial indicator is now zeroed.
Can Any Dial Indicator Be Used For All Applications?
No, each dial indicator has different capabilities and specifications and hence can’t be used for all applications. For example, a plunger dial indicator is best for checking run-out in a surface, while a lever dial indicator is best for checking the warp on a surface.
Thus, it’s important to select a dial indicator that suits the application requirement.
Conclusion
Overall, using a dial indicator can seem daunting at first, but with proper instruction and practice, it can be an incredibly useful tool in various industries. Remember to carefully select the appropriate dial indicator for your needs, prepare your mounting surface, set your zero point, and take accurate measurements.
Investing in a high-quality dial indicator and accessories can ensure accuracy and longevity of use. Many professionals consider using a dial indicator not only a necessary step but also a crucial one when it comes to testing the perfection of manufacturing pieces.
With the numerous advantages and benefits that come along with using a dial indicator, the possibilities are endless. So why not take the time to learn how to use this useful tool and perfect your work in the future?
Leave a Reply